7 Fun & Easy Ways to Celebrate St. Patrick's Day With Kids

I know a lot of people think parents are getting a little over-the-top with holiday celebrations. But here's the deal: in our house, we love holidays. Big or small, we celebrate as many of them as we can. My kids get a kick out of all the little things we do, and it's a great opportunity to learn a little bit about the history and/or culture behind the holiday. And we're a little bit Irish and we're Catholic, so here are 7 easy ways to celebrate St. Patrick's Day.

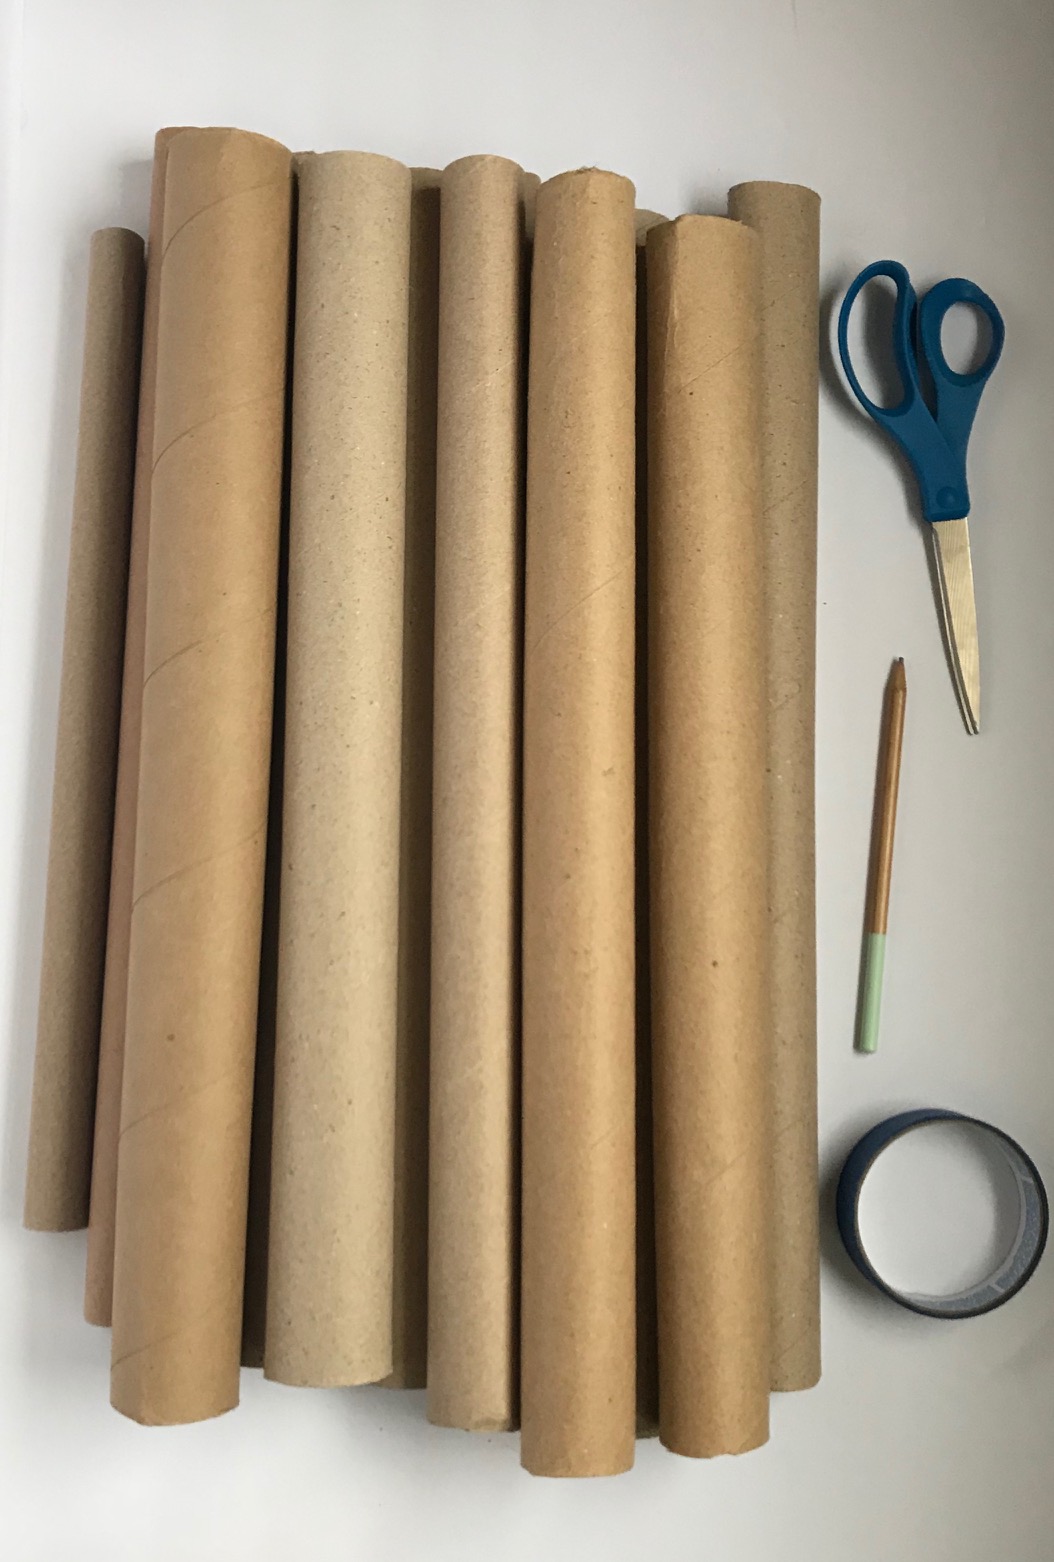
1. Build a leprechaun trap. The first time we ever had a leprechaun trap was when the first grade teacher at our elementary school assigned it to my oldest's class for homework. That was 10 years ago, and we've had at least one in our house every year since. And honestly, when I say build a leprechaun trap, I mean, let your kids do it. Let them raid the art supplies and the recycling pile. Give them glue, glitter, and gold coins (leprechauns love gold, you know). Use legos or blocks or play dough. Let them have at it. This is a great STEAM (that's science, technology, engineering, art, and math, by the way) activity. They can get creative, build, try out different ideas, and see if they work. We've never caught a leprechaun in one of traps, but maybe this year will be different...

DSC_8456.JPG

2. Put together a St. Patrick's Day sensory bin. Kids too little to build a trap? Put together this sensory bin, instead! The dollar store has all things green and lots of cheap St. Patrick's Day trinkets. Grab a couple bags of green paper shred (or Easter grass), some foam shamrocks and other green things, and some fake gold coins and toss them in a bin. My kids love digging through the grass and finding all the hidden things.

DSC_8141.JPG

3. Eat Lucky Charms cereal. No, this isn't an ad for the cereal. In fact, since I typically don't feed my kids cereal full of marshmallows for breakfast, I generally don't buy it. But, once a year, we have it in our house and it's a big treat for them.

4. Make a walking rainbow. If you've ever done this, you know what a cool experiment it is! You need 6 clear jars/glasses/cups, paper towels, some water, and red, blue and yellow food coloring. Put the jars in a circle and fill every other jar about 1/2 to 3/4 full of water. Add red food coloring to the first jar of water, yellow to the second jar of water, and blue to the third. Fold 6 paper towels into strips and put them between the jars, one end in each. Make sure the ones in the water jars are touching the water. Let them sit. Check them every once in a while to see the colors climbing the paper towels between jars. After several hours, you will have an entire rainbow, like magic!

IMG_4893.JPG
IMG_7635.JPG

5. Go On a Gold Hunt. Gather some fake gold coins, pennies, or anything you can find that is yellow. Hide them around your house and send your kids on a "gold hunt". Make it more interesting by setting a timer and seeing how many pieces they can find before it goes off. Of make it a race, seeing who can collect the most pieces of gold. Or have them team up to help each other.

DSC_8447.JPG

6. Bless someone else with "the luck o' the Irish". Take some time to leave a treat for a neighbor or someone you love. Leave a card with it explaining that a leprechaun has blessed them with some luck. There is never a bad time to teach kids to show kindness to others.

7. Make a little mischief. Leprechauns love mischief! They might take things out and put them away in the wrong place, steal the gold out of a trap without being caught and hide it around the house, or leave a fun little note about why they are so hard to catch.


Winter Boredom Buster: DIY Cardboard Tube Swords

Well, its that time of year again. Christmas and the New Year have come and gone, and we're digging for the cold winter months. Winter came into our area full-force over Christmas and I have a feeling we're going to be spending a lot of time cooped up inside over the next few months. Which means that I'm going to be looking for lots of ways to stave off boredom and keep my kids from fighting over EVERY. LITTLE. THING. Because, let's be honest, short days + cold weather + being stuck inside = cranky kids (and mom & dad, too). So, hopefully, over the next days/weeks/months, I'll be sharing with you easy crafts and activities to help keep the boredom at bay.

Today I'm going to share with you a quick tutorial on how to make these cardboard swords. I actually made these for an event I did at work in early December, and had extras that I passed on to my kids. They go together pretty quickly and my kids have played with them quite a bit over the last few weeks. If you're like me, you'll even have leftover cardboard boxes and wrapping paper tubes from Christmas, which makes these super easy to do!


IMG_5128.jpg

For the swords, you will need:

  • Cardboard tubes- when I made these for work, I raided my wrapping paper, unrolling the rolls that had only a little bit of paper left, and stealing the tubes inside. Now, I have some more tubes from Christmas wrapping, but if you didn't just happen to save them to add to your ever-growing stash of cardboard like me, fear not! You can make cardboard tubes by scoring a rectangle of thin-ish cardboard, rolling it up, and hot glueing the edge.
  • Pencil
  • Masking tape (I couldn't find my masking tape, so I used blue painter's tape, instead).

Not Pictured:

  • A piece of thin-ish flat cardboard- like the side of a box, or an empty cereal box.
  • Craft knife
  • Hot glue gun
  • Foil (optional)
  • Markers/gems/glue/paint/decorations (also optional)

It's going to look like there are a lot of steps to making these swords, but that's because I wanted to break them WAAAY down to make them really easy, so don't worry, and don't feel overwhelmed!

  1. If your cardboard tubes are long, trim off the end to your desired length. I probably made mine about 24 inches.
  2. Flatten one end slightly and cut a curved edge (be careful to round out the top point a little bit so that it isn't TOO sharp; some of mine were actually sharper than I wanted and I had to go back and round them off some more):
IMG_5129.jpg
IMG_5130.jpg


        3. Tape off this edge with masking tape:

IMG_5131.jpg

        4. If you would like to cover the blade with foil to make it look more like a sword, now is the               time. Simply wrap pieces of foil around it (if you want, you can hot glue them to give them             more staying power). I left my swords uncovered for two reasons: a) I was worried the foil            would give them too sharp of an edge and b) I was giving kids free reign to decorate them            as they chose.

       5. On your flat piece of cardboard, draw one rectangle per sword. I made mine 3x12 inches,                but you can make any size you want as long as they are wider than the width of your                      sword blade. These will be the hand guards. Cut out using your craft knife:

IMG_5132.jpg

        6. On the left side of the hand guard, trace the bottom round edge of your blade and cut it                 out with your craft knife.

IMG_5136.jpg

       7. Slide hand guard up over the bottom of the blade. Make sure the hand guard is extending             out to the right, and that the curved edge of the blade is facing the same direction:

       8. Bend right side of hand guard down, forming a "D" shape, and hot glue to the bottom of                the blade. Hold for a few seconds to make sure the hot glue dries:

IMG_5141.jpg

       9. Let your kids decorate them with paint, markers, gems, etc. (this keeps them occupied                    longer!), and when they are dry, they are ready to sword fight!

Just a note about safety- before letting my kids play with these swords, we talked about making sure that they were hitting SWORDS ONLY, not people, so no one got hurt.

And that's it! My kids have spent several hours sword-fighting, playing pretend, and just generally enjoying their swords!

Let's Play a Game!

Yesterday I said to the kids, "Let's play a game." "Yay! Let's Play Monopoly!"- this from my four-year-old. He's been really interested in Monopoly Junior lately. I love to play games with my kids, you guys, but oh, man, this one is not my favorite to play with littles. First of all, it takes forever- almost like regular Monopoly, so one game can seem to drag on for hours. It's like going down the rabbit hole! For another thing, even though he's getting pretty good at it, it's really NOT geared toward kids his age. Which can make it hard (and even harder if we're playing with more than one kiddo, like when we play with his five-year-old cousin), because it sometimes requires skills that he hasn't quite developed yet. So, why do I keep playing this game with him?

Read More

"Boy, You Have Your Hands Full" - A Busy Mom's Advice For Keeping It Together

When you parent a lot of kids, you tend to garner comments about the size of your family. See, people assume fewer kids equals easier parenting. Parents with partners aren't outnumbered by one or two children and even single parents have two hands, so it must not be so bad. But once you hit three, the comments start rolling. At three kids, I started hearing things like, "Boy, you have your hands full!" and when we hit four, all bets were off. I've gotten everything from "I don't know how you do it!" to "You have a lot of kids- do you think this is a fair price for families?". I don't know what it is about having multiple children that makes people think it's ok to comment on the size of your family, but typically I just respond politely and leave it at that.

These comments can sometimes be snide, but are more often made by well-meaning strangers, people we know, or parents who have fewer children and think they would be overwhelmed by more. The truth is, even though we are a large family by today's standards, I can think if at least three families in our tiny school (think fewer than 200 students) that have more kids than mine, and back in the day, 4 kids would have been easy-peasy.

Honestly, no matter how many kids you have, or how old they are, parenting is hard AF. And the things that make it hard are constantly chnging. When my kids were little, parenting was hard because of the constant physical needs. They needed me to do or help them do everything. And when you are elbows-deep in kids all day, with no adults in sight, that can be really draining! Now that they're older, the challenges have changed. They no longer need me to do ALL.THE.THINGS., but they definitely need more emotional support (remember puberty? and high school? and love and broken hearts and trying out for teams and trying to get into colleges and all the things? yeah, be ready!), and they need to be taken EVERYWHERE. Seriously, everywhere.

The older they get, the crazier their schedules get, so it makes me laugh a little inside whenever people ask me how I keep it all together. Because, in all honesty, I'm really not. Most days, I'm just faking it and hoping no one will notice all the things I missed... like vacuuming up the dog hair that's been smeared on our carpet for the past two days (can I tell you how much I hate dog hair?!), or you know, bathing my younger kids every couple of days, or being on time. To anything. Ever. I haven't quite given this one up, and I'm trying to get better, but it takes a lot of planning and cajoling on my part. In fact, I'm counting it as nothing short of a miracle that we have made it, dressed and fed, to the bus stop on time all year long (who care that we're only two weeks in?!).

Which brings me to the one thing that adds some semblance of together-ness to my life and that is: MY PLANNER. You know I love organization, and this is the one thing that helps me keep it together. I've always been a calendar/planner/organizer kind of girl, and it's one thing I can't be without!

GetFileAttachment-125.jpg

Now, I know that a lot of people think planners are boring, but there are so many different kinds out there, and so many different accessories, that they can be a thing of beauty. In fact, over the years, mine has evolved from a calendar into something more like a calendar/to-do list/menu planner/ home binder/scrapbook all in one. It's now kind of like a cross between an organizer and a bullet journal- something I wish I could do, but find that it takes up more time than I have, despite all reassurance that bullet-journaling is quick an easy (it's the layouts that get me- i just spend far too much time making them perfect!). 

So, what, exactly, do I use that makes this so amazing? Read on for some tips!

1. Find One That Works For You: Maybe you need lots of room to write, or perhaps you prefer something compact and easy to carry. You might want only a monthly lay-out, or a weekly lay-out, or maybe you're like me and you want to have both! Spiral bound, or one that you can easily rearrange. Only a calendar, or one with additional sections for budget, workout/health tracking, and more, I've used a lot of different planners over the years, and it took me a little while to figure out what I needed. There are lots of options out there, whether you want to purchase a pre-made one or download templates to print and make your own! Think about your needs. 

2. Color Code It: I color-code calendar entries. I've designated a specific color to each family member so that I can quickly glance at my calendar and know which activity belongs to whom. It makes it so much easier to find things and, honestly, it's kind of pretty to look at! 

3. Make It Fun!: I love all the sickers and stamps that are out there, and I use them to help me designate special events, work items, to-do lists, menu plans, chores and more. I use fun binder clips to mark current week's sections so I can flip to them quickly and easily. Plus, the organizer I use has add-on pages for home planning, fitness tracking, notes and more, which make it easy to customize.

GetFileAttachment-51.jpg
GetFileAttachment-128.jpg
GetFileAttachment-89.jpg
GetFileAttachment-55.jpg

Recently, my planner took a step up to "scrapbook" when my kids and husband gave me a Polaroid Instax camera for Mother's Day. The prints are the perfect size to fit in the boxes of my calendar, so whenever we have an important event, or just something I want to remember, I snap a picture and add it to the book.

GetFileAttachment-95.jpg
GetFileAttachment-136.jpg

4. Keep It All Together: I keep everything- except my pens and planner itself (those travel with me everywhere I go)- together and easily accessible in a basket on my desk. Any time something comes up, I add it to my planner.

5. Communicate It!: Having myself organized is only half the battle! If everyone else, particularly my husband, doesn't know what's going on, we're still a mess. So, once a week, I transfer everything that everyone else needs to know (i.e., our dinner menu and weekly activites) to the two chalkboards I have designated in our house for those purposes. This way, we're all on the same page

GetFileAttachment-106.jpg
GetFileAttachment-112.jpg

So now you know my secret! Hopefully these tips help you, too!