DIY Lettered Pumpkin Tutorial

Happy October, you guys! For the last couple of days I’ve been seeing the quote from Anne of Green Gables- “I’m so glad I live in a world where there are Octobers”- just about EVERYWHERE, and it’s killing me, because right now, in Ohio, it feels more like early July than early October. Where is my fall weather?! I want cool air and sweaters and scarves and soup and coffee all day and pretty leaves, and pumpkins & apples, but all I’m getting is humidity, rain, and 80 degree days. I don’t think Mother Nature got the memo.

Despite the weather, I’m over here getting into all the fall activities, which includes, of course, decoratiing. I really love the hand-lettered pumpkins I’ve been seeing all over, so I decided to make some of my own, and I thought I’d share the process with you, in case you want one - or a few- too. Because, actually, they’re pretty simple to make, and they’re really cute. So let’s jump right it!

To make these pumpkins you need 3 (maybe 4) things:

  • A pumpkin (real or faux- you choose)

  • A pencil

  • A paint pen (I used an oil-based Sharpie paint pen)

  • Optional carbon paper (or chalk- I’ll explain)

First, decide on your word/phrase and sketch it onto your pumpkin in pencil. Be sure to space your letters a little further apart than you normally would- and if you’re writing in cursive, leave extra space in your loops- because we’re going to create some faux calligraphy. If you’re unsure about lettering by hand, find a font you like on your computer and print your word/phrase. Then you can either use carbon paper OR cover the back of the printed page with chalk. Lay it against your pumpkin and use the pencil to trace around the outer edge of your printed word/phrase.

Next, use your paint pen to trace over your sketched lines. Be sure to shake your paint pen well before using and apply steady pressure while writing with it.

Finally, thicken some of your lines by tracing over them a couple more times with the pain pen. If you’ve traced a printed font, just fill in the wider spaces. If you did it free-hand, choose which lines you want to thicken. For faux-calligraphy, i.e. any script lettering, you’re going to make your down-strokes thicker. If you did a hand-printed font, you can get different looks by thinckening different lines. I chose to widen the left-hand side of every letter (also the down-strokes in this case) for my printed “HELLO”.

Let it dry for a few minutes and you’re done! Go find a cute place for it in your fall decor!

64 Easter Basket Fillers for Teens, Tweens & Kids

This post contains affiliate links.If you make a purchase using one of these links, I may receive a small commission at no additional cost to you.

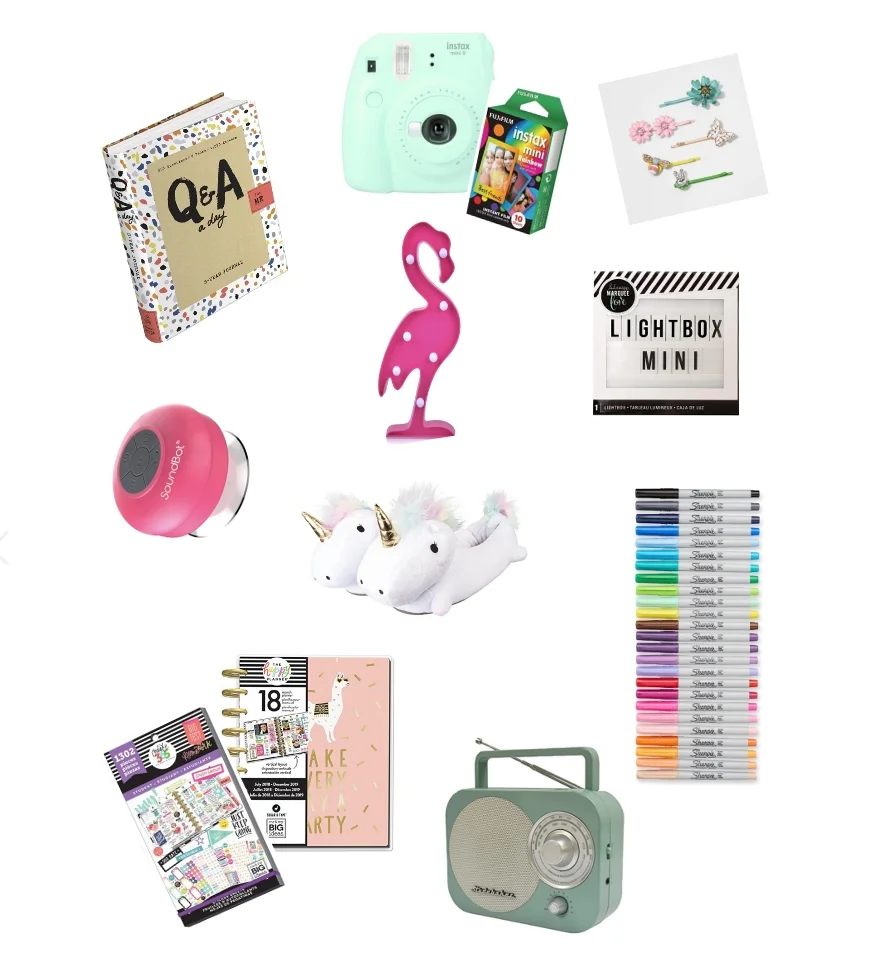
You guys. I realized the other day that Easter is THIS.WEEKEND. There I was, humming along, feeling like I have plenty of time to get things done, and suddenly the holiday is six days away and I have NOTHING done. So, one of the things I've been doing over the last few days is searching for basket fillers for my kids.

Unless they have money of their own to spend, there are very few times during the year that my kids get special items, toys, or gifts. Of course, when they are in need of something- clothes, shoes, necessities, we purchase those things. But other than a certain holidays and birthdays, we don't make a lot of special purchases. So instead of filling their Easter baskets with candy, I like to fill them with fun and useful things. I never seem to struggle with ideas for my little ones, but I feel like, as my kids get older, it becomes more difficult to choose good gifts.

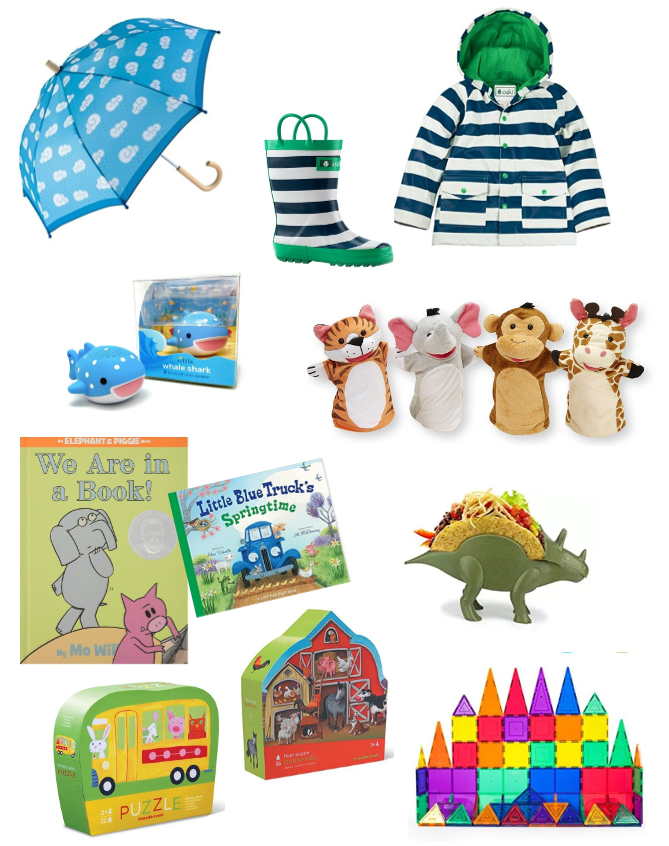
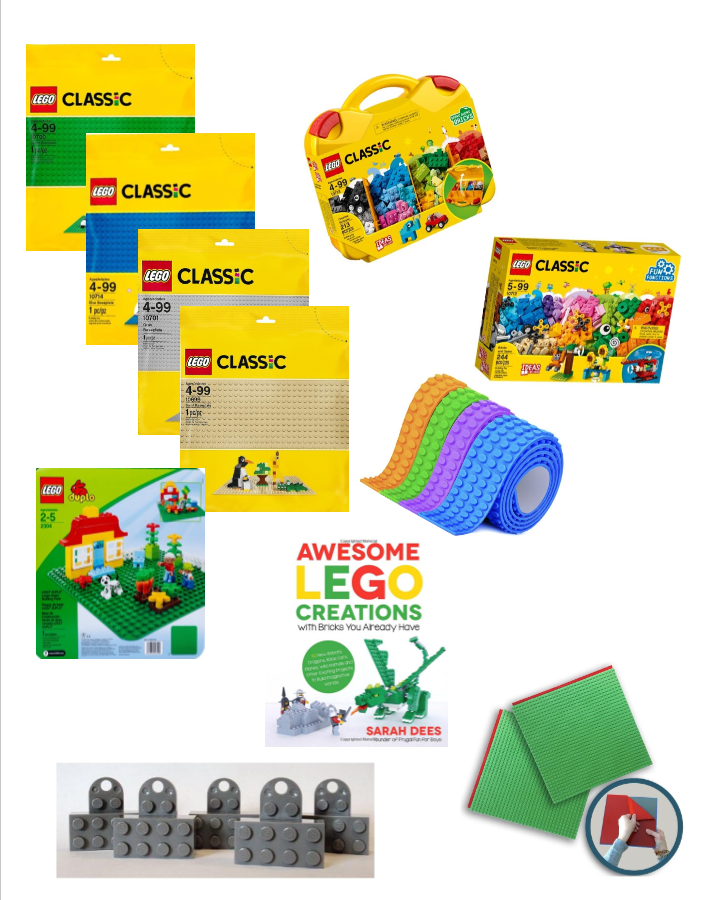
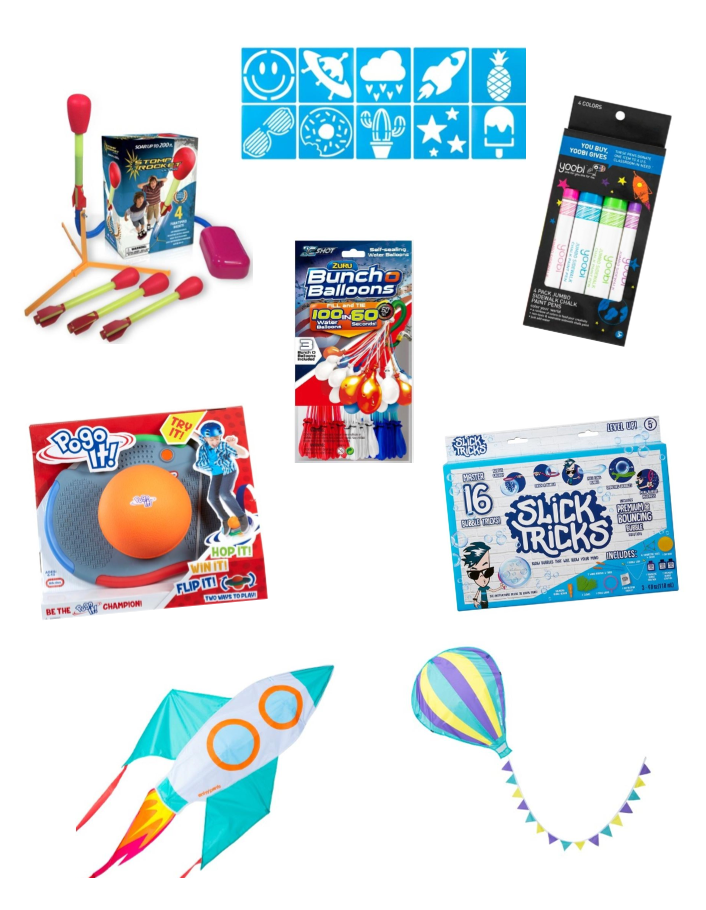
Since I'm guessing that lots of other people probably run into this problem, too, I thought I would share with you all the things, just in case you are in need of some last minute items. So, without further ado, here are 64 Easter basket ideas for teens, tweens & kids.


Tween & Teen Girls

Teen & Tween Girls
Tween & Teen Boys
Any Teen
Little Kids
Lego Lovers
Outdoor Play
Art Supplies

7 Fun & Easy Ways to Celebrate St. Patrick's Day With Kids

I know a lot of people think parents are getting a little over-the-top with holiday celebrations. But here's the deal: in our house, we love holidays. Big or small, we celebrate as many of them as we can. My kids get a kick out of all the little things we do, and it's a great opportunity to learn a little bit about the history and/or culture behind the holiday. And we're a little bit Irish and we're Catholic, so here are 7 easy ways to celebrate St. Patrick's Day.

1. Build a leprechaun trap. The first time we ever had a leprechaun trap was when the first grade teacher at our elementary school assigned it to my oldest's class for homework. That was 10 years ago, and we've had at least one in our house every year since. And honestly, when I say build a leprechaun trap, I mean, let your kids do it. Let them raid the art supplies and the recycling pile. Give them glue, glitter, and gold coins (leprechauns love gold, you know). Use legos or blocks or play dough. Let them have at it. This is a great STEAM (that's science, technology, engineering, art, and math, by the way) activity. They can get creative, build, try out different ideas, and see if they work. We've never caught a leprechaun in one of traps, but maybe this year will be different...

DSC_8456.JPG

2. Put together a St. Patrick's Day sensory bin. Kids too little to build a trap? Put together this sensory bin, instead! The dollar store has all things green and lots of cheap St. Patrick's Day trinkets. Grab a couple bags of green paper shred (or Easter grass), some foam shamrocks and other green things, and some fake gold coins and toss them in a bin. My kids love digging through the grass and finding all the hidden things.

DSC_8141.JPG

3. Eat Lucky Charms cereal. No, this isn't an ad for the cereal. In fact, since I typically don't feed my kids cereal full of marshmallows for breakfast, I generally don't buy it. But, once a year, we have it in our house and it's a big treat for them.

4. Make a walking rainbow. If you've ever done this, you know what a cool experiment it is! You need 6 clear jars/glasses/cups, paper towels, some water, and red, blue and yellow food coloring. Put the jars in a circle and fill every other jar about 1/2 to 3/4 full of water. Add red food coloring to the first jar of water, yellow to the second jar of water, and blue to the third. Fold 6 paper towels into strips and put them between the jars, one end in each. Make sure the ones in the water jars are touching the water. Let them sit. Check them every once in a while to see the colors climbing the paper towels between jars. After several hours, you will have an entire rainbow, like magic!

IMG_4893.JPG
IMG_7635.JPG

5. Go On a Gold Hunt. Gather some fake gold coins, pennies, or anything you can find that is yellow. Hide them around your house and send your kids on a "gold hunt". Make it more interesting by setting a timer and seeing how many pieces they can find before it goes off. Of make it a race, seeing who can collect the most pieces of gold. Or have them team up to help each other.

DSC_8447.JPG

6. Bless someone else with "the luck o' the Irish". Take some time to leave a treat for a neighbor or someone you love. Leave a card with it explaining that a leprechaun has blessed them with some luck. There is never a bad time to teach kids to show kindness to others.

7. Make a little mischief. Leprechauns love mischief! They might take things out and put them away in the wrong place, steal the gold out of a trap without being caught and hide it around the house, or leave a fun little note about why they are so hard to catch.