Mini Dinosaur Excavation Valentines
Small confession: I don’t love kids’ Valentine’s Day cards. This is not a slight against them, or anyone who buys them, they’re just not really my thing. And I have a hard time deciding what to do with them. Most of the time, my kids want to hold on to them, so we do, but I inevitably find them randomly stuffed in a piece of furniture or caught at the bottom of a storage basket or behind a dresser years after they get them. The other option is tossing them in the trash, which also, somehow, seems to lead to them turning up years down the road in the weirdest places. So-o-o-o… for the last several years we have made valentines together and tried to include something useful or a fun activity, instead. This year, Theo and I made some mini dinosaur excavation kits to give to his friends.
Even though this was technically a two-day project (hello, dry time) they were surprisingly quick and easy to make. And since, like, one person asked me how I made them, I decided I’d share them with the world.
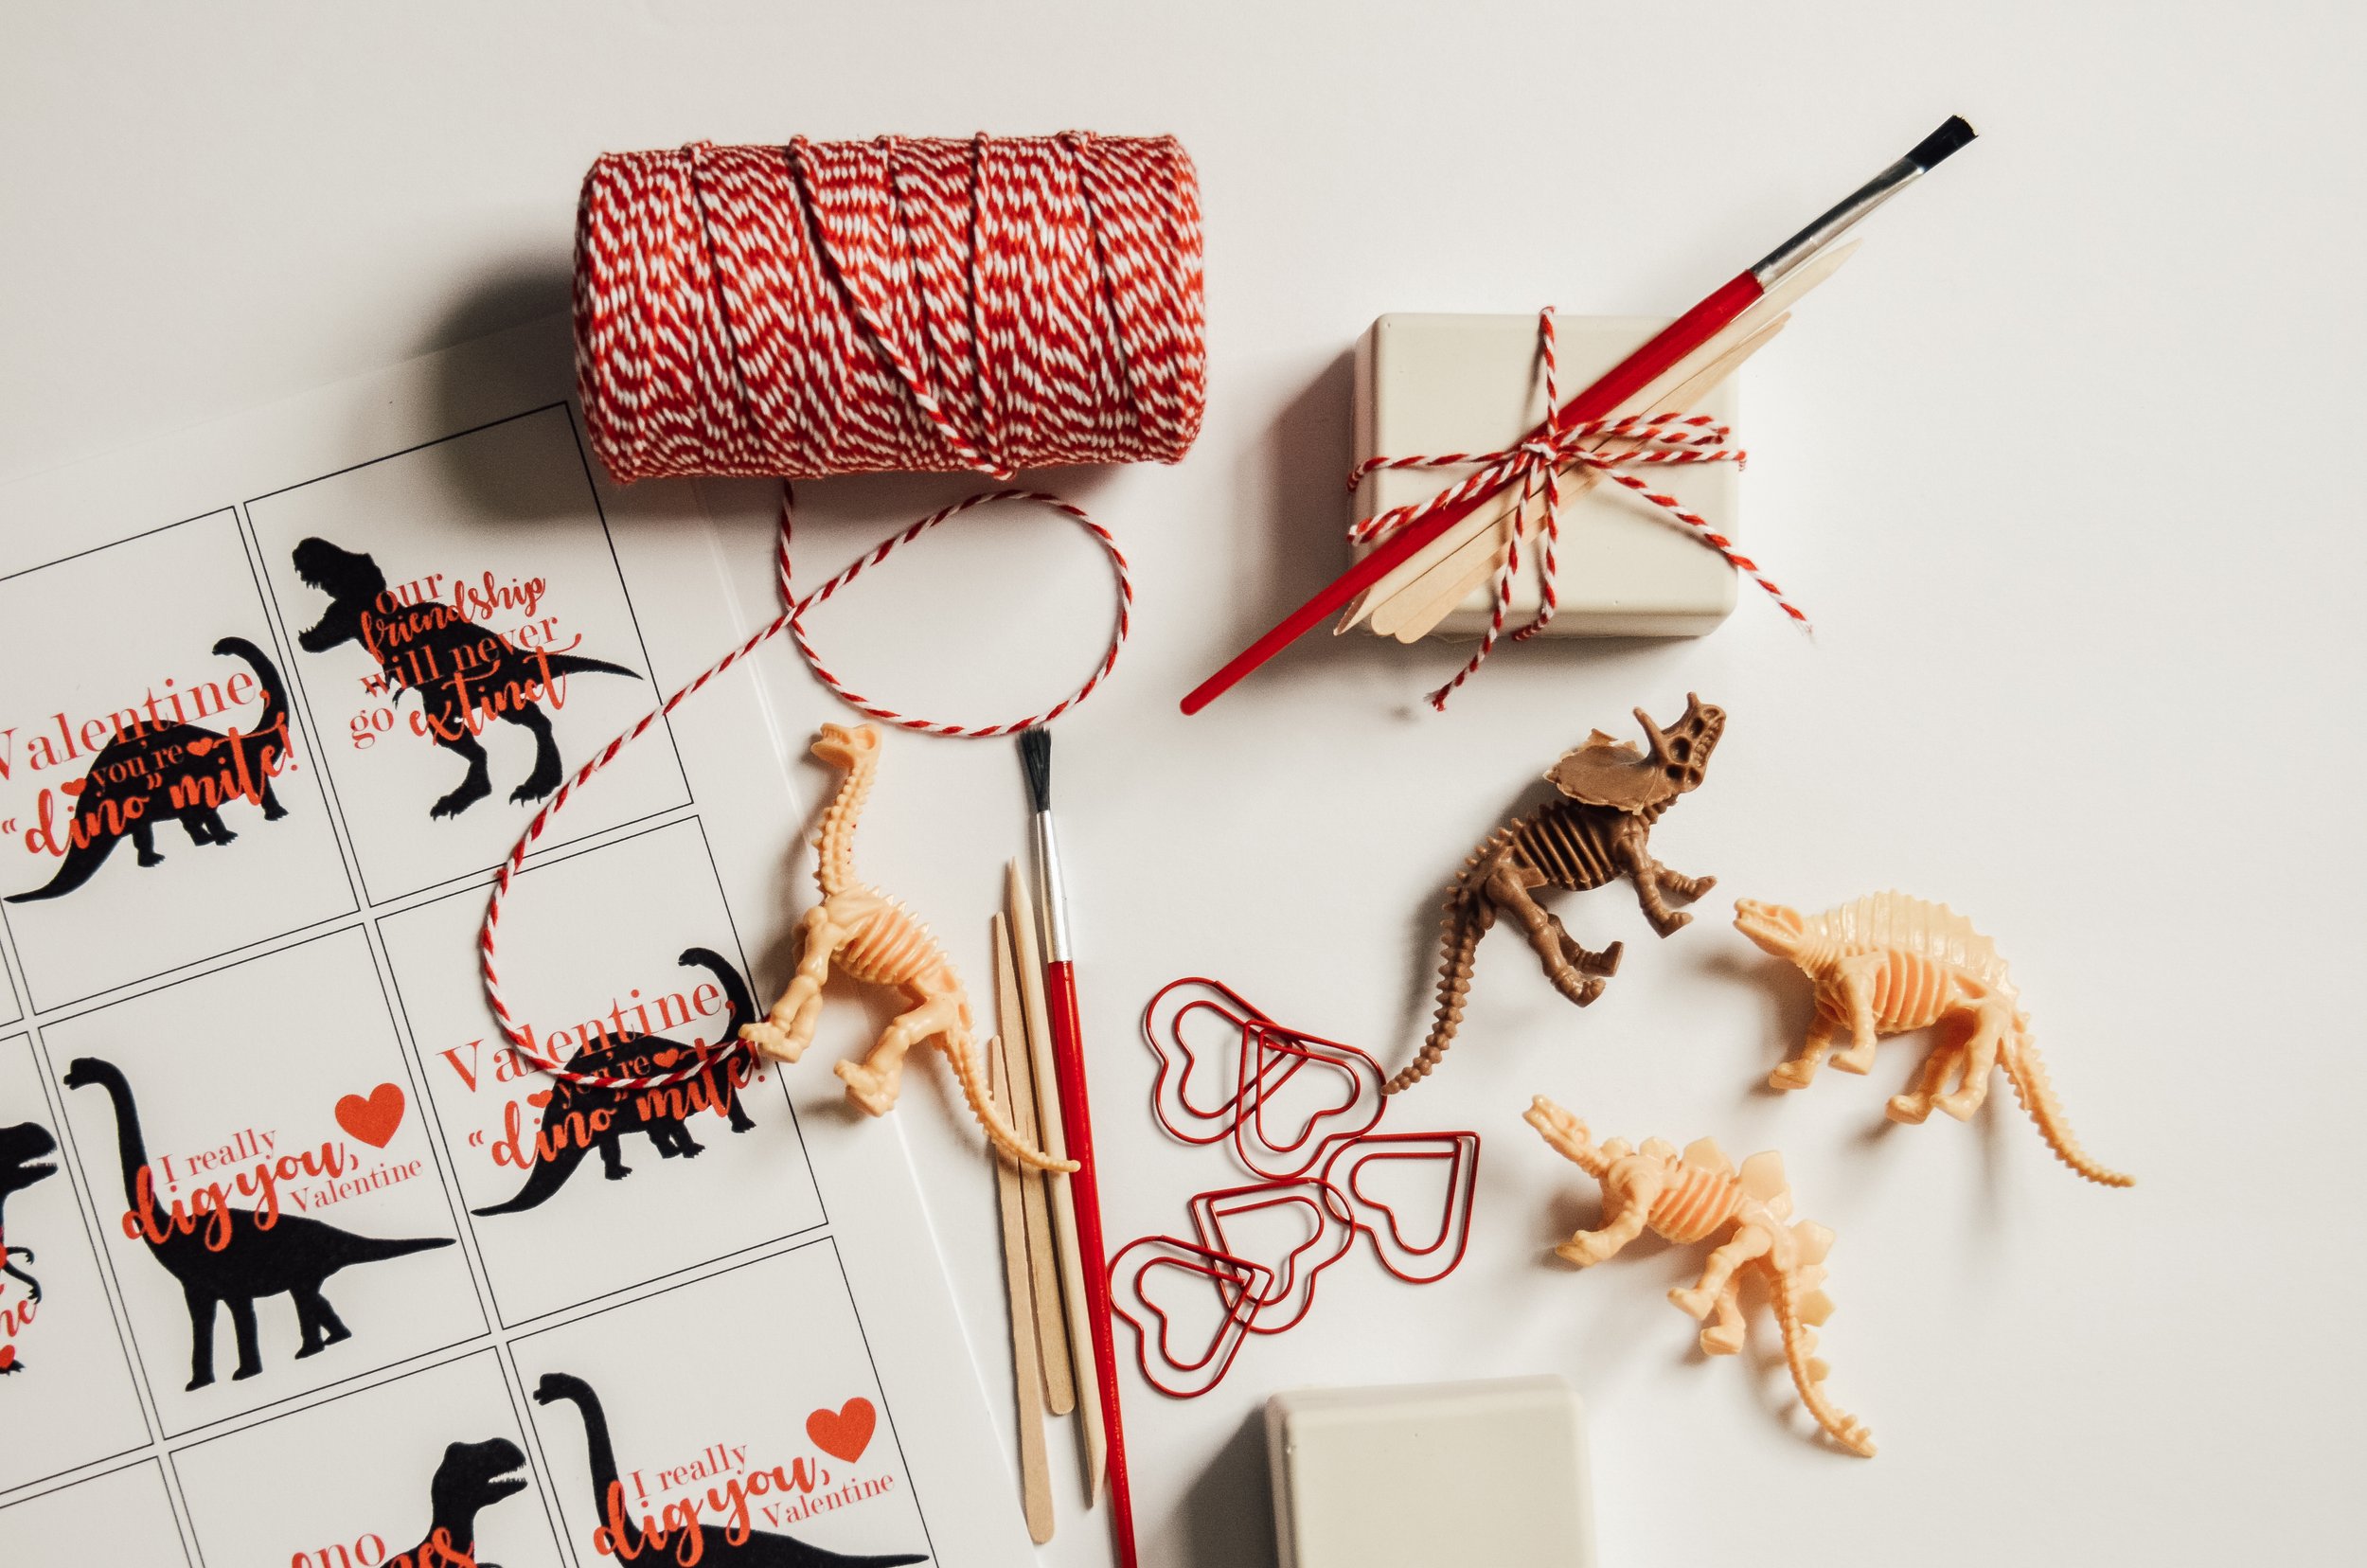
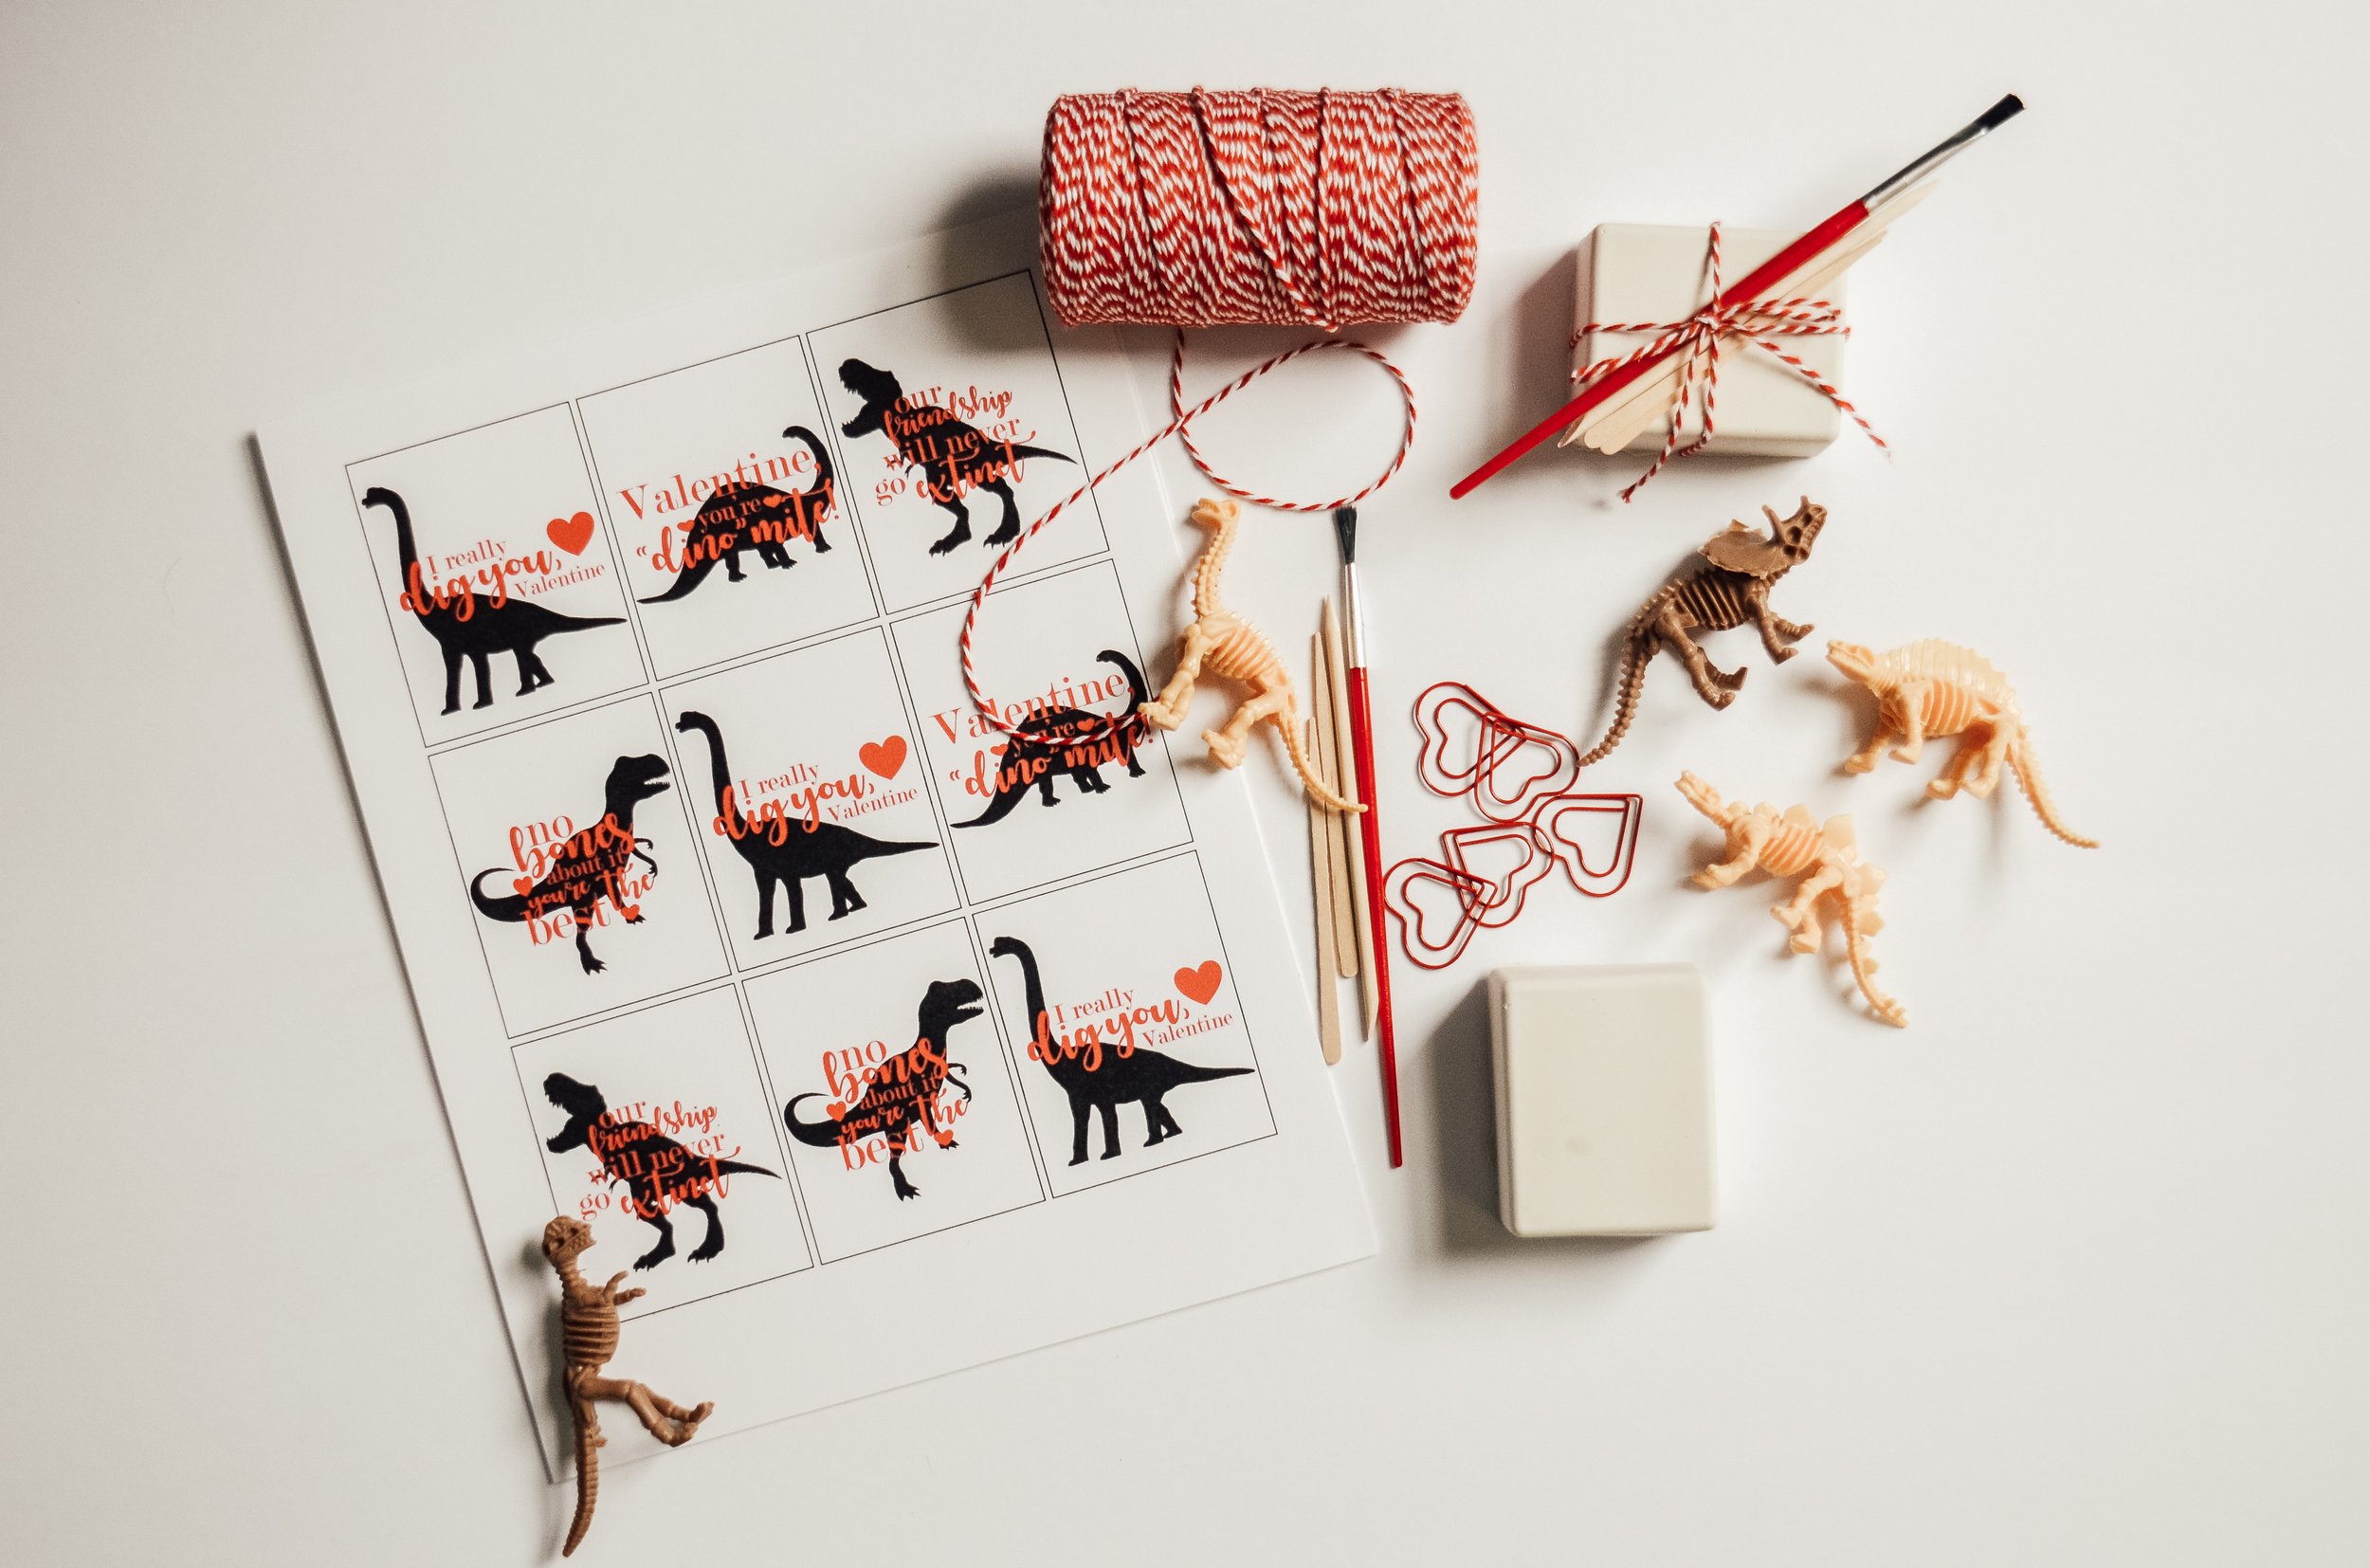
I ordered the dinosaur skeletons and heart paperclips online, then picked up a silicone soap mold, plaster of Paris, and craft sticks from the craft store, cuticle sticks from Target and three 5-packs of paint brushes (which just happened to be red) from Dollar Tree.

I didn’t want to spend money on more than one mold, which made 6 at a time, so we had to make these in rounds. I used the recommended ratios for mixing the plaster of Paris (one part water to two parts plaster). Since it dries quickly, I mixed new plaster each time we filled the molds. For each round, I used 1.5 cups cold water with 3 cups plaster (I just used a glass mixing bowl and a large metal spoon so it would wash out/off easily), which gave me enough or a tiny bit extra each time. I poured enough plaster into the molds to fill each one about half-way, then Theo helped me tap it on the table a few times to release bubbles. He stuck the dinosaur skeletons in and I topped them off with plaster. The plaster sets for removal in an hour; when the hour was up, we popped them out of the molds and set them on a cooling rack to dry overnight.
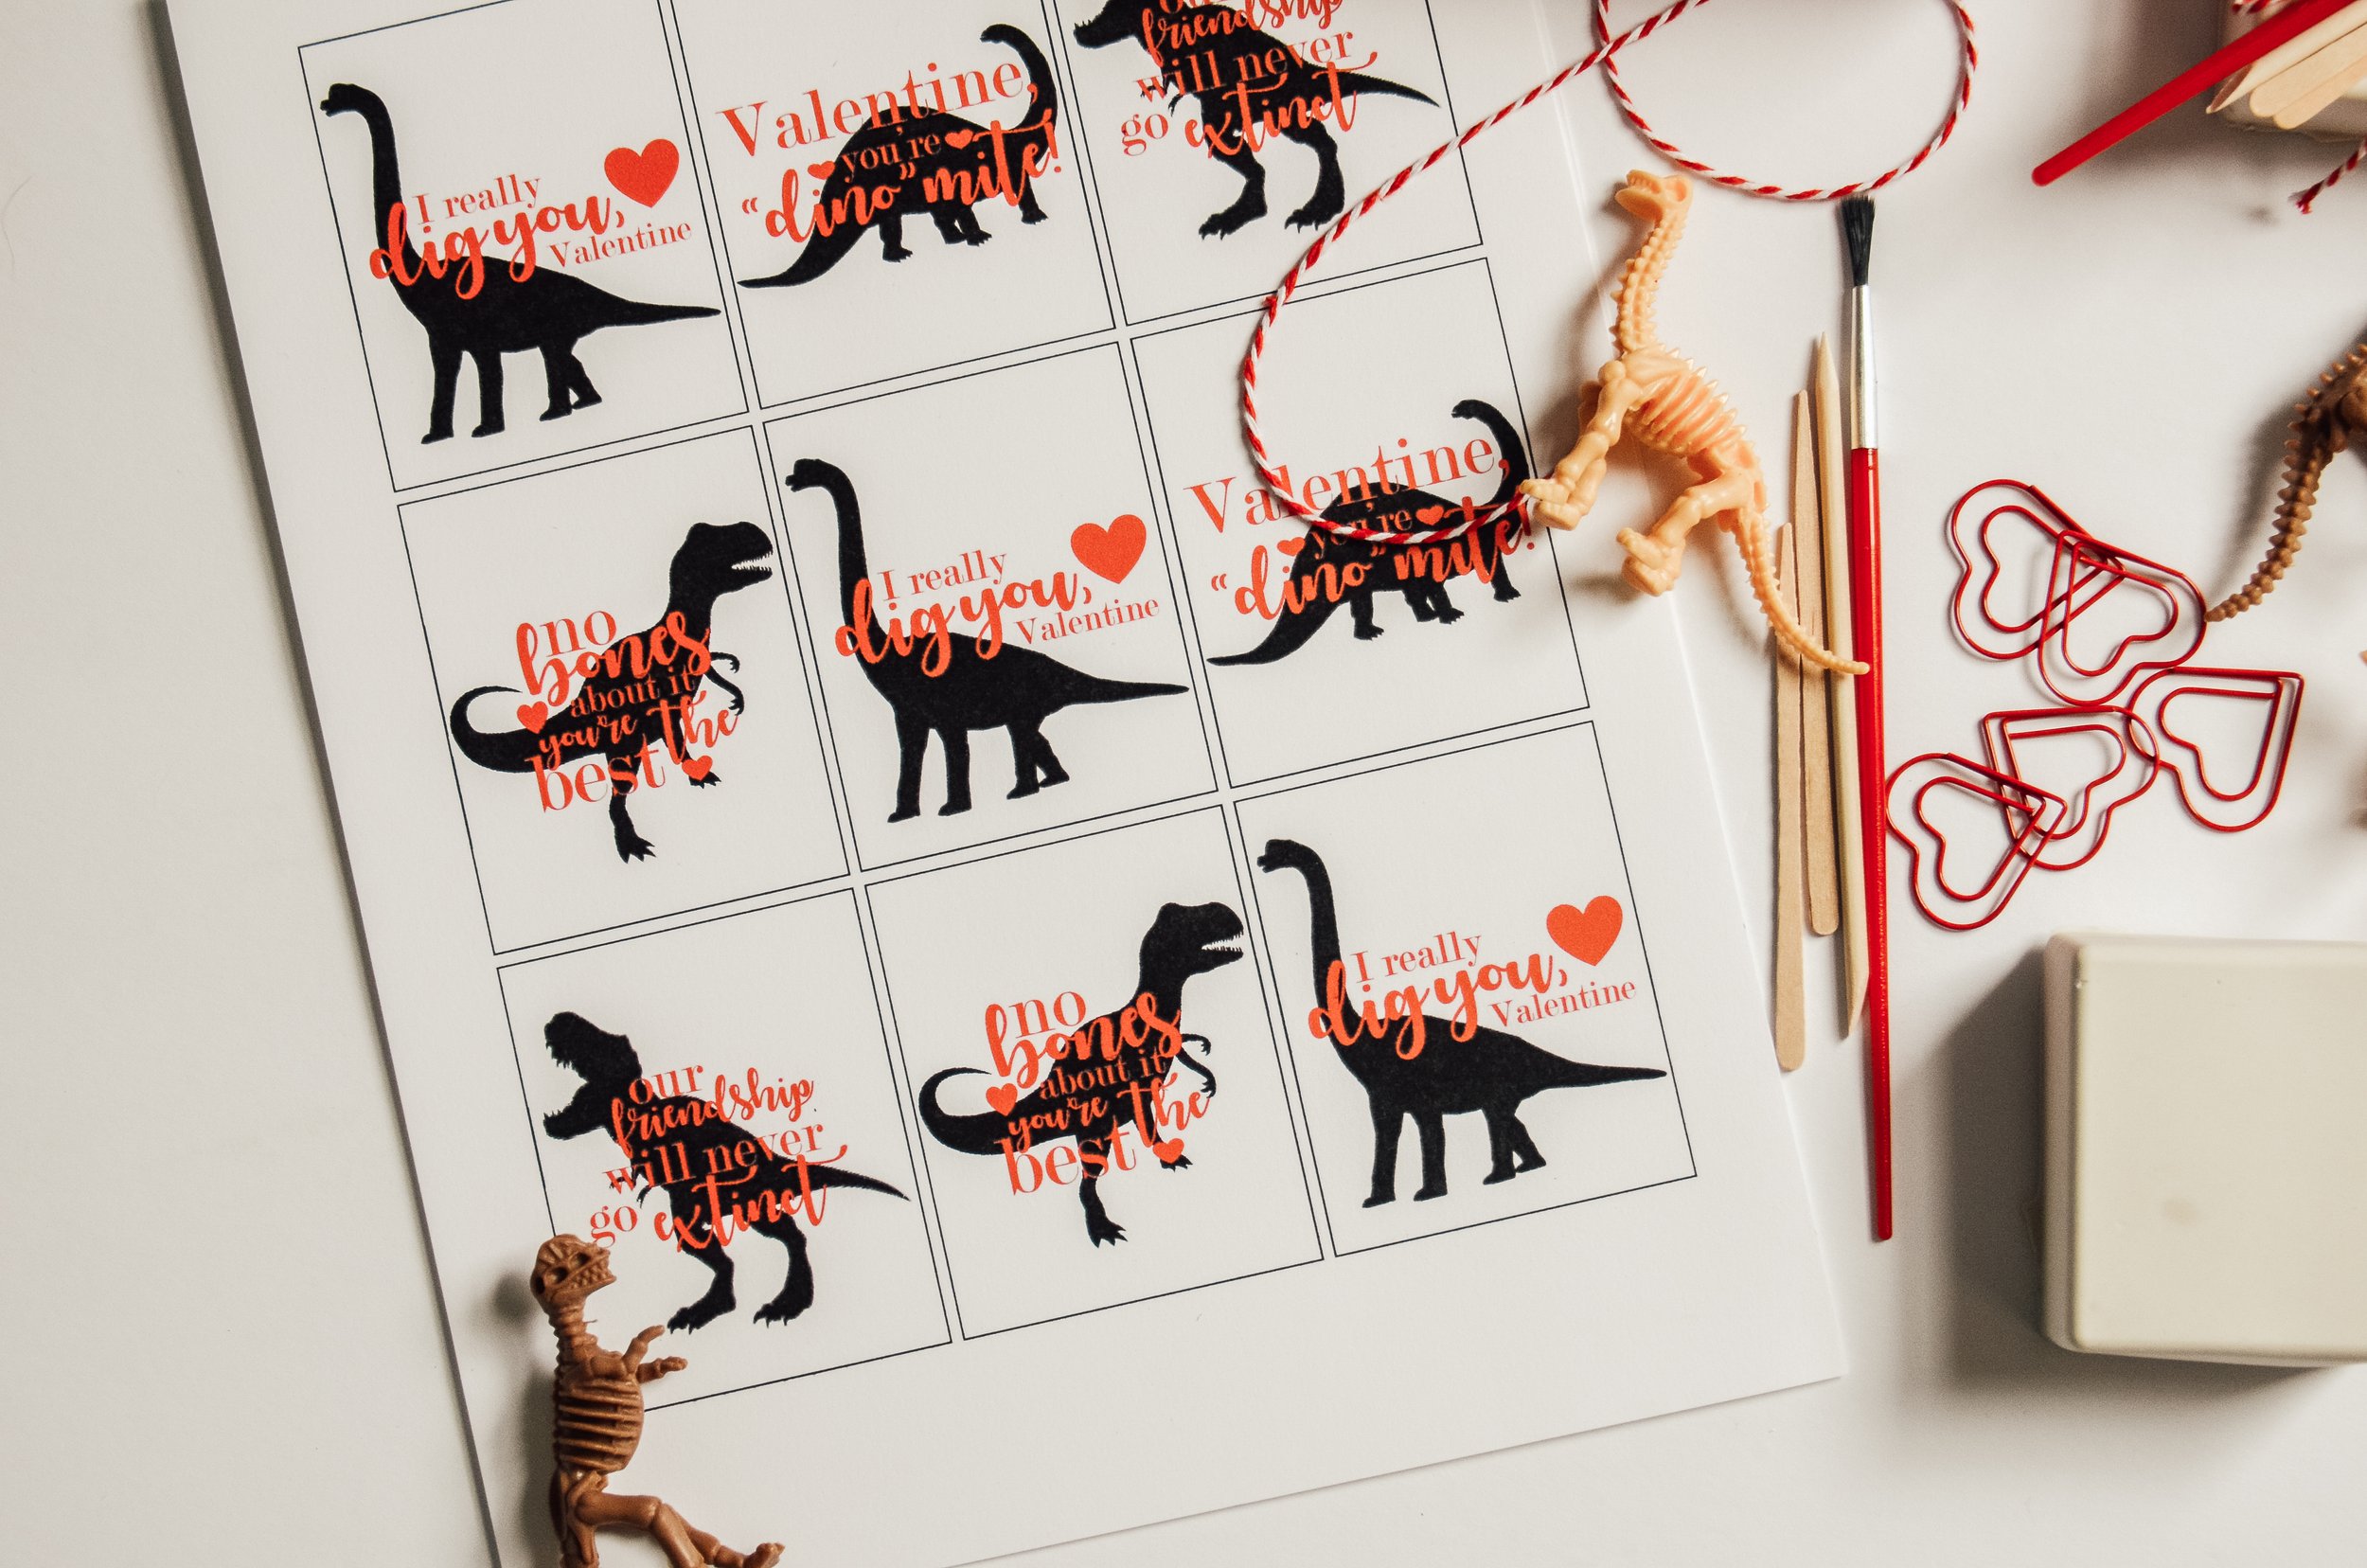
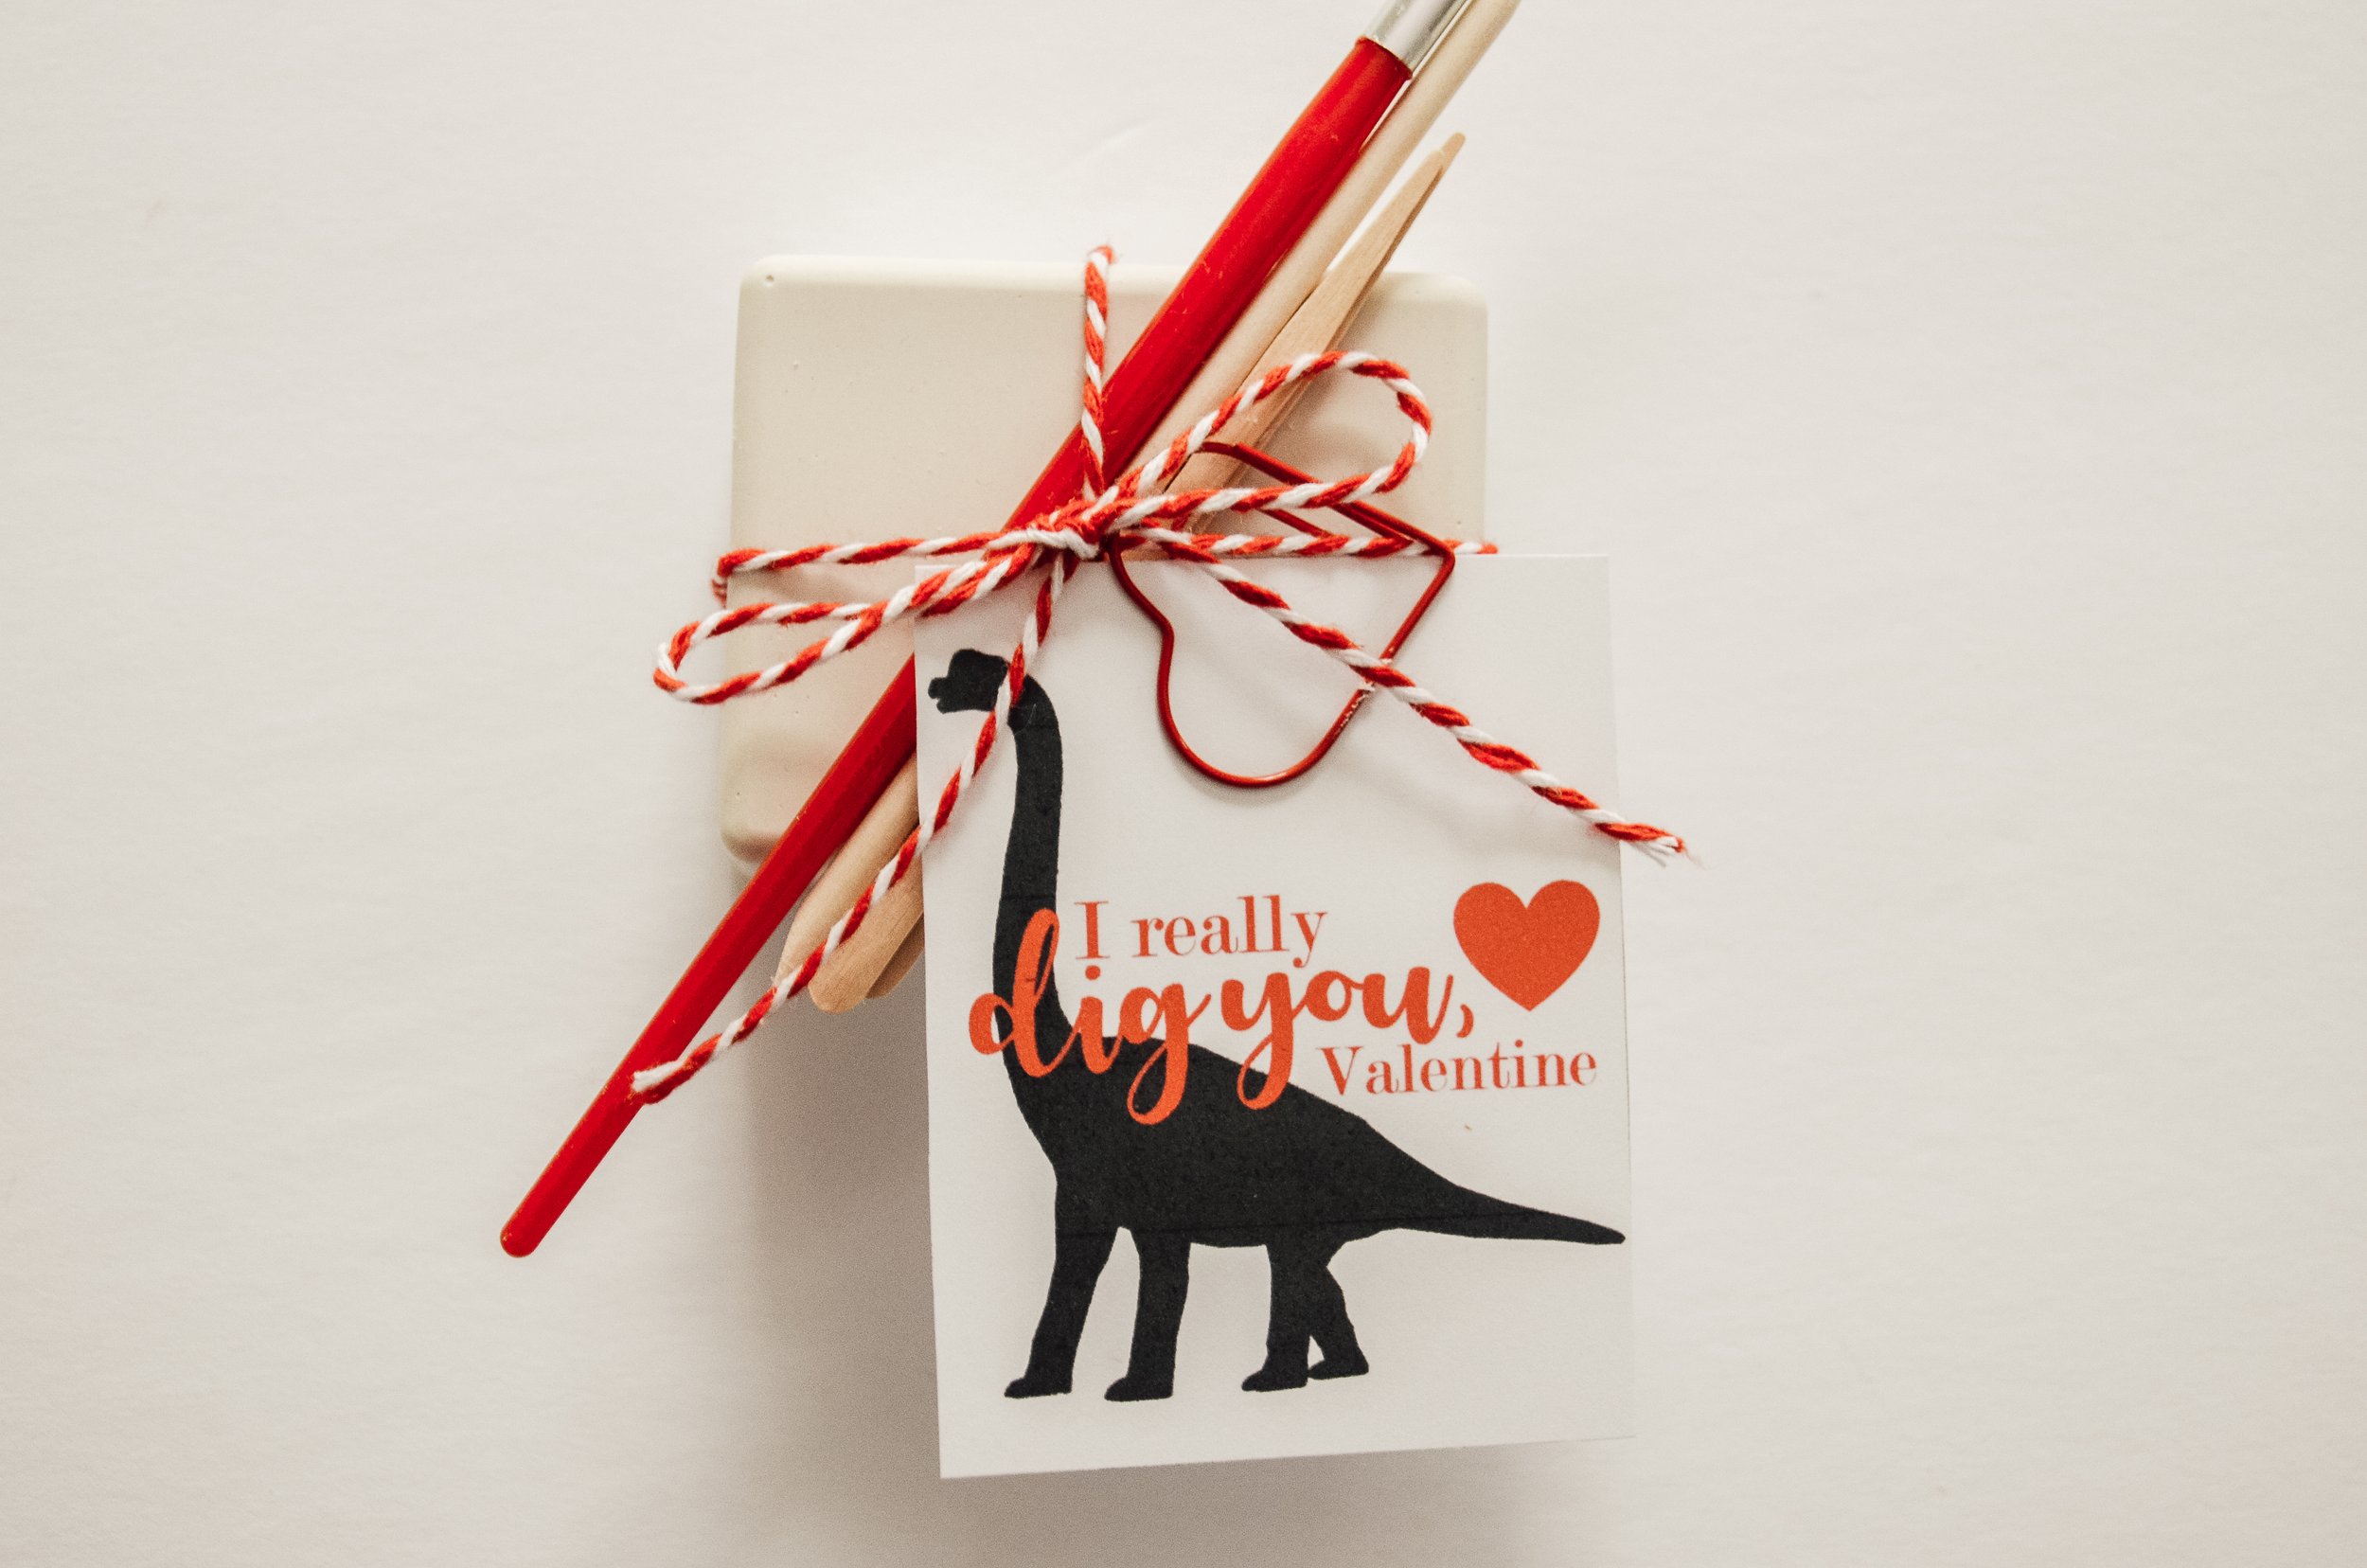
I made up the tags, printed and cut them, and had Theo sign the backs. Once the blocks were all dry, I used red and white baker’s twine to tie everything up in a package and we attached the tags with the heart paperclips.